

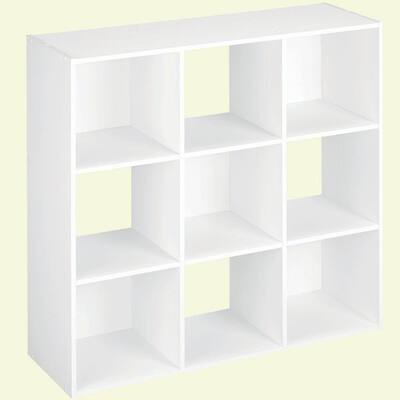
This unit from Home Depot (see link below) is 9 cubes each one. But only 5 of the cubes have this white cardboard backing and the other 4 were left open. I read one of the customer reviews that she backed the open cubes with her own fabric covered cardboard. Awesome! That's exactly what I will do.
But putting the first unit together went very poorly that day. Several mistakes... attempted to do when I had only 2 hours to do it, didn't take my Vyvanse that day and couldn't stop thinking about my husband's earlier argument about these units. He said they would be "junk" but they're Martha Steward from Home Depot! OK I didn't say that last part out loud. If you consider particle board junk like him then he was right, but honestly they'll do for now. When he finishes putting up all of our walls, building our kitchen cabinets, putting a deck on the house and finishing the fencing.... THEN he can make me some solidly built version of this. Until then these will work for $50 each on sale.
To do a better job than I did putting it together I have a few pointers:
1. Carefully look at all the long boards and label them with a dry erase marker or pencil.
2. Either use a rubber mallet or only pound with your hammer through a rolled up towel when putting the peices together with the dowel rods.
3. If you screw up and have to pull out a dowel and it's no good anymore? Nena's Hardware (Ace is the place) sells them individually for cheap. Menards and the big box stores you have to buy like 20 in a package.
4. I also nailed my fabric covered cardboard backs on in addition to the backs they supplied. In fact, I made mine from the box the whole thing came in. But it was hard to always see where to nail after getting several on so you might want to nail all the backs that came with the kit on first as they were designed. Then add your fabric covered peices afterwards and try to have the nails line up with the ones you already pounded in for the others. (Sorry I should have taken pictures).

Thanks to "Ace is the place with the helpful hardware man." Since I had so much trouble with the first one and wrecked a bunch of the little dowels. Luckily they were $0.23 at Nena's for the 2 inch and $0.15 for the 1 inch.
Here's how my room looks in Roomstyler!
 |
| This is after I paint it in the future. |
 |
| Maybe he can at least make me a craft table this year? |
 |
| Pat looked at this and said it looks like your lab. |
 |
| Moved over my Ott light with the magnification lens and clip. |
 |
| Ta Dah! |
I should also mention that the units are stackable and there are holes to attach them to each other with dowels as well. Then you can also use an enclosed bracket to attach it to the wall to keep it from tipping. Since I'm not all too confident in my finished product's sturdiness I did just that.
My husband is just a music-woodworking-running snob! He'll tell you that himself.
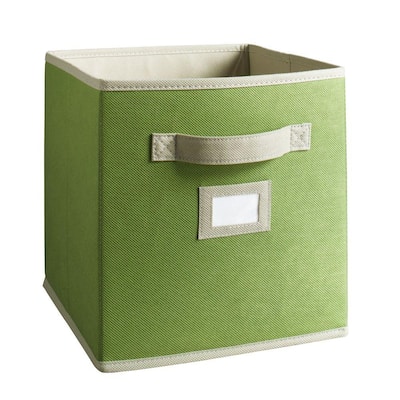
Oh and the bins came from Home Depot as well.
No comments:
Post a Comment